Showing posts with label Titans. Show all posts

Monday, February 20, 2017

Forge World addiction? What Forge World addiction?


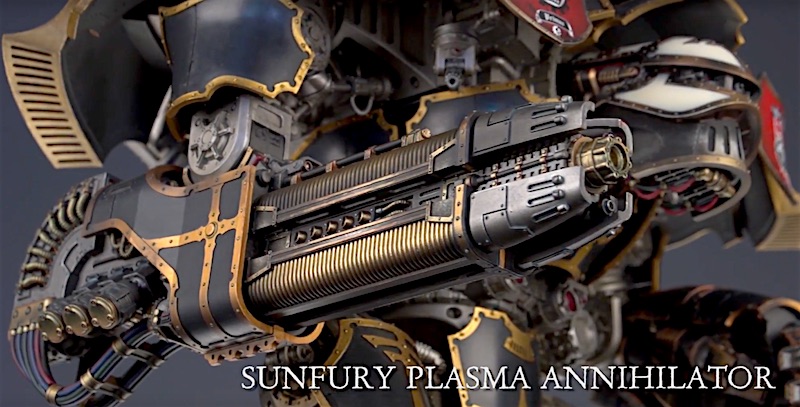
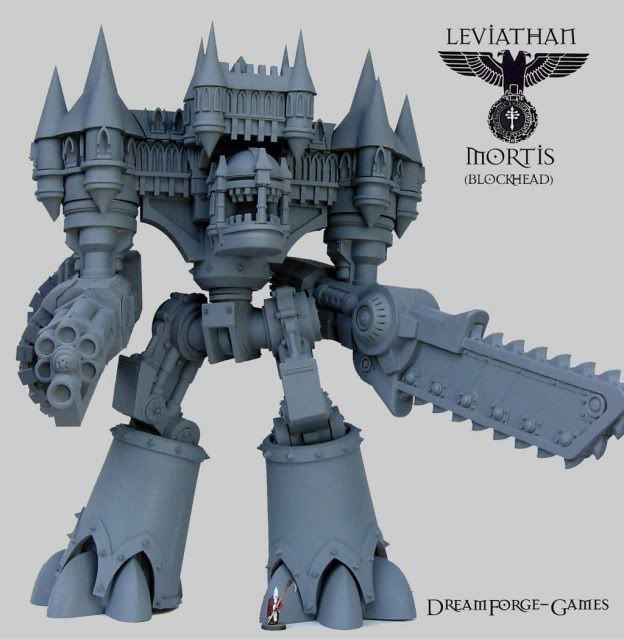
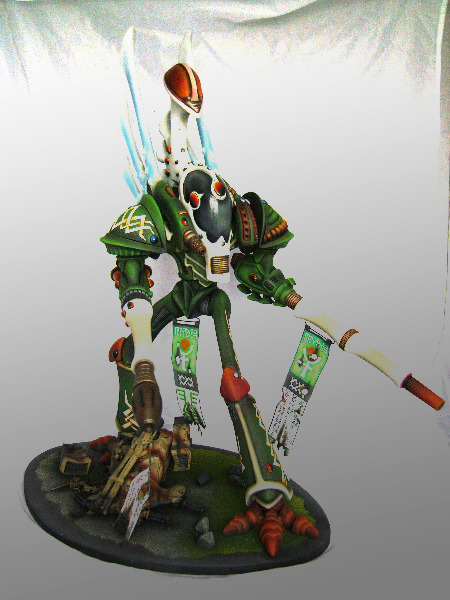
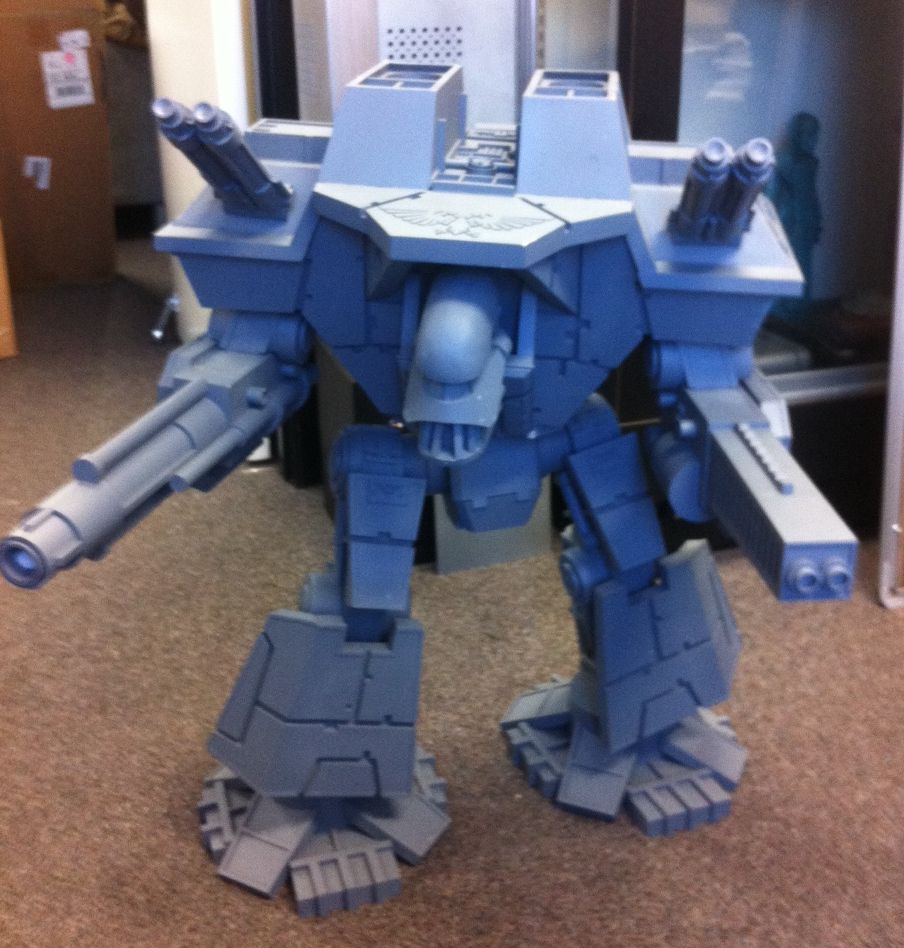
Hi, my name is Loken, and I am a resin addict.

Thursday, January 5, 2017

The New Warhound in my Collection!


The Derp Hound!

Monday, January 2, 2017

Adeptus Titanicus Coming In 2017


Adeptus Titanicus – It’s coming in 2017!

Friday, June 3, 2016

Forge World: New Releases Warlord Titan Parts!


Forge World released new Warlord TItan parts and a new Web App for customizing the Warlord Titan!

Saturday, September 26, 2015

Forge World New Releases - Titans!

The Titan accessories keep coming!

Saturday, July 4, 2015

More Warlord Titan Photos...


New Carapace mounted missile launchers are coming.

Friday, June 26, 2015

Warlord Titan Arrives!


The Warlord Titan is here!

Thursday, April 16, 2015

Warlord Titan Coming from Forge World


warlord-head

FINALLY, the Warlord Titan is coming!

Tuesday, May 14, 2013

Dreamforge Producing New Leviathan Mortis


If you know anything about Dreamforge and Mark Mondragon, the owner, you know it is all about passion and making great models.  Mark made the now legendary resin Leviathan that GW shut down before production.  


 The legendary Leviathan Mortis

Now Mark is making injection molded Leviathans and he is coming out with his second one, named after his previous resin one.


From Mark at Dreamforge:


The Leviathan Mortis is now production ready! This was actually the first of the new generation of Leviathan I designed back in 2002... I still have a soft spot for the Mortis.  Unlike the old resin kits the fingers and scythe will remain completely poseable. Just like the Crusader, the Mortis is highly dynamic, arms move, legs move, waist moves.... great fun and ready for some smack down.


When will this hit retail? About 3-4 months, we hope... We will not make this available until all the Kickstarter backers have been shipped and are well on their way. Stay tuned for updates!
 
 
I have not yet gotten a Leviathan, but will be doing so shortly.  They are perfect for Knight Titans. 

Loken

Thursday, April 11, 2013

Knight Titan by Blight Wheel Miniatures


Blight Wheel Miniatures has released "Prometheus" which is a Knight Titan sized mech.  

Blight Wheel's website is here and  blog is here.

You can order Prometheus here.


A really beautiful model that fills a need in Apocalypse armies.  I'll take 3!

Loken


Friday, January 25, 2013

Painting a Warhound Titan - Part II


A guest post from Kenny Boucher of Next Level Paintng who will be producing a series of articles on painting.  Here is Part II of painting a Warhound Titan.

Wednesday, January 23, 2013

Painting a Warhound Titan - Part 1


A guest post from Kenny Boucher of Next Level Paintng who will be producing a series of articles on painting.  Here he starts with a Warhound Titan.

Monday, November 26, 2012

Eldar Warlock Titan in 6th Edition


By Andrew Lotz
 
In preparation for The Big Game III, generals are readying their armies and showpiece models for conflict. Part of that preparation means agreement on which rules to use for rarer pieces—particularly all the older Amorcast models that brought Epic 40k units into regular 40k scale size.

Sunday, July 22, 2012

The Titan Manufactorum Goes Live.


Spyros Kypriotis (Who goes by Tsipis) is the brains behind The Titan Manufactorum, which produces 40K scale Titans for Apocalypse players.  Check out his new site as he has lots of Titan goodies and his models are very reasonably priced.

We previously did an interview with Tsipis you can read here.

Here is the new "Guardian" Titan he is working on, which is basically a Knight Titan.


And a video for your enjoyment:


Tsipis wil be writing some detailed articles on his Titans and we will have them up for you soon. 

Loken 


Saturday, March 31, 2012

Warlord Arrives!


Well, after some trial sand tribulations, my Warlord Titan was delivered to me for a second time.  The first time the packing was not so good and the Titan was damaged.  I sent it back and this time it was AMAZINGLY well packed.  

Well, tomorrow is a big Apocalypse game vs the Eldar, so Aaron Lovejoy came up to get a coat of paint on the Warlord.  Here are a few quick photos.

Unpacked and set up at our office.  Everyone got a kick out of it.

The model needs some touching up.  There is a lot of resin and that means a lot of bubbles.

Aaron Lovejoy, hamming it up for the camera.

My other two Aaron Lovejoy painted Titans are a tad small....


More to come as we paint this beast.

Alec

Wednesday, December 21, 2011

Lucius Pattern Emperor Class Titan

The guys who are doing my Warlord Titan have discussed doing an Emperor Class.  And of course I am game for that.  My call would be to do a Lucius Pattern Emperor Class Titan.  The old Epic model that has a castle on a the top looks ridiculous and so one modeler converted one to look in line with the Lucius Pattern Warlord.


And the Warlord it is patterned after:


Wednesday, August 3, 2011

Emperor Titan for sale on eBay

A Chaos Emperor Titan is up for sale on eBay.  You can see it here.  From the owner:  

The titan is 51 inches tall.  It is made primarily out of foam-core board and pvc pipes, with some balsa wood strips and assorted other bits.  The titan was first painted white and then painted with assorted brown and green washes.  I used the old watercolor painting trick of using salt as well to get some texturing effects in the paint.  Some sand patches were used to give some rust texture in parts and finally some craft moss was glued on.


Monday, August 1, 2011

Inner Geeks Reaver Titan Build Pt. 4

The Inner Geek here. Today is kind of a hodge-podge of an update. A little of a couple different things going on. Let's go have a look...

First off is another tip. I ran across a situation and had to use my trusty sharpie marker to bail me out again. There are some resin pieces that have a part number or other designation on them. Such as this one (note the "F" cast in the center).


There is a half cylinder bit that will cover this letter up, forever hiding the important information that is cast in the piece. So, before gluing that piece on I used the marker to replicate the information. So now even with the extra piece glued on, we can tell this part is "F", or 'front'.


Another bit of advice I have is on gluing parts together. As this project goes on I will be using a lot of epoxy. Sure, for small stuff I'll still use the Super Glue. But, for larger pieces I'll be using an epoxy called JB Quick. I love this stuff. It takes about four minutes to cure to the point that the piece is totally secure, but that gives you some working time. It also has another great feature... From about four minutes till around twenty minutes the consistency of the epoxy is such that if you have allowed some to squish out of the joint, you can carve it away with an exacto knife and it will fill any crevice automatically! Here are a couple shots of epoxy in action...


This is a shot of the first piece to get the epoxy treatment. It is an interior view of the leg armor. The bits you glue on the armor to (later) mount it on the legs are a pain. You have to apply glue then hold the piece onto the leg to ensure that the pieces are in the right position. Super Glue drys too fast, so the four minute work time is perfect here. Plus the resulting join will be stronger than the super glue could have ever hoped to be!


As you can see, some small parts have been glued already. These are all minor pieces that are required to go onto the major parts before actual assembly. I've spared you the tedium of explaining every single tiny bit that's glued on. I assure you though, that I will be sharing all the major assembly and any smaller bits that warrant special attention or are just plain cool!

Finally we move on to the dilemma of the base. I've narrowed it down to a couple of options. These are based (ha ha 3d6 pun damage to all readers) on several factors. Playability; how will it work on a game board, will it even fit? Functionality; will it hold the titan up and add at least some stability? I've decided that the pose will be fairly static. I will probably bend one knee a bit, but this thing won't be dancing a jig anytime soon. With this in mind, I bought some MDF board and did some cutting on the band saw and some sanding to bevel the edge.

This first shot is a two base idea. One for each foot. Minimal 'foot print' (wow I'm punny indeed) but still adding some stability and preventing too much pressure ever being put on one or two toes are the main advantages here...


Then there is the full base option. This adds maximum stability at the cost of being freaking huge. The item at the bottom of the pic is a standard 12" (30cm) ruler. Also worth noting; this is a 14" diameter base, I also made a 16" in case this one doesn't allow enough leg room.


You may notice that I left the feet on the smaller 6" diameter bases in this last shot. A third idea I had was to use both methods. I could mount the feet on the smaller individual bases, then use powerful magnets to affix those to the larger base.

Any comments or questions are welcome. You can even toss in a pun if that's how you roll.

-Brian
aka The Inner Geek

Saturday, July 30, 2011

Inner Geeks Reaver Titan Build Pt. 3

The Inner Geek here with another installment of my Reaver Titan project.

As I was trimming and preparing the pieces of the Reaver Titans' legs I thought I would share some tips on working with resin. Of course, the first tip is always safety, never inhale the dust from sanding or grinding this stuff! Next we have the washing which I covered in detail in an earlier post. The following are just a couple more tips in regards to trimming the pieces...

Mold lines. They suck. That's not the tip, just a fact. On resin pieces we want to trim the piece so that there is no line. Easy enough if it is a traditional plastic type of mold line where the piece is one uniform level with the line protruding out from it. But what about when the piece is not uniform and the line is the result of an uneven cast? We still need to get the pieces to match up while trimming the least amount possible. Here is an example of such a mold line.


This a trick I use to help ensure that I trim just enough. I take a sharpie marker and make trace over the line. Make a couple of passes if needed, but get the whole mold line black.


Now you can begin to trim along the mold line. You may use a file or a hobby knife, whichever you are comfortable with. Where the part doesn't need much trimming, the marker will come off quickly. Where marker remains, the part is not even, or flush.


Concentrating on areas where the marker remains, you will see less and less marker as the two sides of the part become more flush. Use common sense here, you may have to trim down areas where the marker has already disappeared to reach the parts where it has not. The idea is to use the marker to help you see where there is more trimming to be done and where the part is already even. The line will eventually disappear completely, but it is not always necessary to go that far. This much marker is acceptable to me for this particular part.


Another thing to remember about resin, it cuts a little funny when you use clippers. Sometimes where the vents (the extra sprue bits colored black below) are you can cut too close and break off a bit of the actual piece. I believe this happens because the resin tends to be weaker in these areas. So, when trimming these large bits I recommend clippers. But, I also recommend trimming different ways according to where vent is located. On a vent like the one below, where the vent is on surface you will see when finished, you do not want to have your clippers flush with the piece. I would leave some space between the clippers and the edge of the piece, then trim the remainder with a knife or file.


For the next piece, you may notice that the vents are on surface I've designated with marker. This surface will be hidden as it's the inside of a joint. The hip joint to be exact. I will put the clippers right against the piece in a situation like this. If a small indention results from the close cut it will never show.


I hope you've enjoyed this quick trip to resin land. I'm sure as this project moves forward there will be more tips and tricks that pop up and I'll be happy to share them all with you. Now I'm just trying to think of a way to stick the legs together to do mock ups for positioning. Some sort of super blu tac may be in order!

Thanks for stopping by. If you have any questions, comments, suggestions, or entertaining insults, by all means leave me a comment!

-Brian
aka The Inner Geek

Labels

3D Printing (7) 40K Fluff (3) 40K Nation (2) 6th Edition (32) 7th Edition (8) Aaron Lovejoy (2) Accessories (4) Adepticon (10) Adeptus Mechanicus (19) Aetherium (1) Airbrushes (1) Alan Bligh (1) Alpha Legion (9) Analytics (1) Anvil Eight (1) Apocalypse (43) Apocalypse Games (6) Apocalypse World Records (9) Armies (2) Art (2) Astra Militarum (1) Battle Reports (20) Battlefleet Gothic (2) Battlefoam (3) Battlefront Miniatures (1) Betrayal at Calth (7) Big Daddy (1) Black Templars (3) Blood and Skulls Industry (7) Blood Angels (21) Blood Ravens (1) Campaign (1) Chainsword (1) Chaos (18) Chaos Space Marines (35) City Fight (1) Collectors Editions (1) Conquest (2) Conventions (1) Conversions (14) Cosplay (5) Crimson Templars (5) Daemons (4) Dark Angels (29) Dark Eldar (5) Dave Taylor (2) Dawn of War (1) Death Guard (1) Death Korp of Krieg (1) Death Korps of Krieg (2) Dice of War Games (2) Digital Downloads (2) Dreadnoughts (2) Dreamforge (7) Drop Zone Commmander (1) Dust (1) eBay (6) Eldar (33) Emperor's Children (1) Eternal Crusade (1) Events (2) Facebook (1) Fantasy Flight Games (5) FAQ (6) Feast of Blades (1) Fellblade (14) Finecast (2) Flames of War (2) Flash-Gitz (1) Flyers (16) Forge World (394) Fraud (2) Games Workshop (77) Gamesday (1) Garro (1) Giveaways (8) Grey Knights (5) Heresy Trading (1) Hobby Articles (26) Hobby Supplies (1) Horus Heresy (333) Horus Heresy Weekender (31) House Rules (7) Imperial Fists (12) Imperial Guard (25) Imperial Knights (22) Inferno (6) Inquisition (3) interviews (4) Iron Hands (8) Iron Warriors (5) KICKSTARTER (7) Killzone (1) Knight Titans (5) Legal Issues (3) Legio Custodes (21) Legion of the Damned (4) Leviathan Crusader (1) Lord Inquisitor (12) mastadon (1) Mastodon (1) Mechanicum (9) Minotaurs (1) Mobile Devices (1) Moritat (1) Necrons (14) New Releases (4) Night Lords (4) Objective Scoring (2) Orks (28) Painting (4) Plastic 30K Kits (1) Podcasts (1) Primarchs (2) Privateer Press (1) Prospero (3) Raven Guard (8) Ravenguard (1) Resin accessories (108) Retailers (7) Roboute Guilliman (1) Rumors (95) Salamanders (5) Scam Alerts (1) Scratch Builds (24) Siegeworld (5) Sisters of Battle (11) Sisters of Silence (8) SoCal Apocalypse (5) Solar Auxilia (12) Sons of Horus (4) Space Hulk (3) Space Marines (55) Space Wolves (13) Special Ops (1) Starter Set (5) Stormbird (1) Supplements (2) Tactics (1) Tallarn (1) Talons of the Emperor (1) Tau (19) Terrain (15) The Big Game (20) The Big Game 2 (17) The Big Game 3 (14) The Big Game 4 (3) The Black Library (117) The Emperor (1) The Inner Geek (4) Thosand Sons (3) Thousand Sons (15) Thunderhawk (4) Titans (24) Tom McBride (33) Tools (1) Tyranids (13) Ultramarines (12) Video Games (16) Videos (1) Wahammer 40k (3) Warhammer Forge (1) Warhammer World (6) Warhawk (3) Warhound Titan (2) Warlord (16) Warmachine (1) Week in Review (1) White Dwarf (10) White Scars (4) WIP (2) Word Bearers (4) World Eaters (3)

Disclaimers

Apocalypse40K is a registered trademark of Dice of War, Inc.. ©Copyright 20010-2013. All rights reserved.

Warhammer 40,000
This web site is completely unofficial and in no way endorsed by Games Workshop Limited.

Adeptus Astartes, Blood Angels, Bloodquest, Cadian, Catachan, the Chaos devices, Cityfight, the Chaos logo, Citadel, Citadel Device, Codex, Daemonhunters, Dark Angels, Dark Eldar, 'Eavy Metal, Eldar, Eldar symbol devices, Eye of Terror, Fire Warrior, Forge World, Games Workshop, Games Workshop logo, Genestealer, Golden Demon, Gorkamorka, Great Unclean One, Inquisitor, the Inquisitor logo, the Inquisitor device, Inquisitor:Conspiracies, Keeper of Secrets, Khorne, Kroot, Lord of Change, Necron, Nurgle, Ork, Ork skull devices, Sisters of Battle, Slaanesh, Space Hulk, Space Marine, Space Marine chapters, Space Marine chapter logos, Tau, the Tau caste designations, Tyranid, Tyrannid, Tzeentch, Ultramarines, Warhammer, Warhammer 40k Device, White Dwarf, the White Dwarf logo, and all associated marks, names, races, race insignia, characters, vehicles, locations, units, illustrations and images from the Warhammer 40,000 universe are either ®, TM and/or © Copyright Games Workshop Ltd 2000-2008, variably registered in the UK and other countries around the world. Used without permission. No challenge to their status intended. All Rights Reserved to their respective owners.

Warhammer
This web site is completely unofficial and in no way endorsed by Games Workshop Limited.

The Chaos devices, the Chaos logo, Citadel, Citadel Device, the Double-Headed/Imperial Eagle device, 'Eavy Metal, Forge World, Games Workshop, Games Workshop logo, Golden Demon, Great Unclean One, the Hammer of Sigmar logo, Horned Rat logo, Keeper of Secrets, Khemri, Khorne, Lord of Change, Nurgle, Skaven, the Skaven symbol devices, Slaanesh, Tomb Kings, Trio of Warriors, Twin Tailed Comet Logo, Tzeentch, Warhammer, Warhammer Online, Warhammer World logo, White Dwarf, the White Dwarf logo, and all associated marks, names, races, race insignia, characters, vehicles, locations, units, illustrations and images from the Warhammer world are either ®, TM and/or © Copyright Games Workshop Ltd 2000-2008, variably registered in the UK and other countries around the world. Used without permission. No challenge to their status intended. All Rights Reserved to their respective owners.


General This web site is completely unofficial and in no way endorsed by Games Workshop Limited.

Adeptus Astartes, Battlefleet Gothic, Black Flame, Black Library, the Black Library logo, BL Publishing, Blood Angels, Bloodquest, Blood Bowl, the Blood Bowl logo, The Blood Bowl Spike Device, Cadian, Catachan, the Chaos device, Cityfight, the Chaos logo, Citadel, Citadel Device, City of the Damned, Codex, Daemonhunters, Dark Angels, Dark Eldar, Dark Future, the Double-Headed/Imperial Eagle device, 'Eavy Metal, Eldar, Eldar symbol devices, Epic, Eye of Terror, Fanatic, the Fanatic logo, the Fanatic II logo, Fire Warrior, Forge World, Games Workshop, Games Workshop logo, Genestealer, Golden Demon, Gorkamorka, Great Unclean One, the Hammer of Sigmar logo, Horned Rat logo, Inferno, Inquisitor, the Inquisitor logo, the Inquisitor device, Inquisitor:Conspiracies, Keeper of Secrets, Khemri, Khorne, Kroot, Lord of Change, Marauder, Mordheim, the Mordheim logo, Necromunda, Necromunda stencil logo, Necromunda Plate logo, Necron, Nurgle, Ork, Ork skull devices, Sisters of Battle, Skaven, the Skaven symbol devices, Slaanesh, Space Hulk, Space Marine, Space Marine chapters, Space Marine chapter logos, Talisman, Tau, the Tau caste designations, Tomb Kings, Trio of Warriors, Twin Tailed Comet Logo, Tyranid, Tyrannid, Tzeentch, Ultramarines, Warhammer, Warhammer Historical, Warhammer Online, Warhammer 40k Device, Warhammer World logo, Warmaster, White Dwarf, the White Dwarf logo, and all associated marks, names, races, race insignia, characters, vehicles, locations, units, illustrations and images from the Blood Bowl game, the Warhammer world, the Talisaman world, and the Warhammer 40,000 universe are either ®, TM and/or © Copyright Games Workshop Ltd 2000-2008, variably registered in the UK and other countries around the world. Used without permission. No challenge to their status intended. All Rights Reserved to their respective owners.